
One of my favorite new features in Lightroom 6, the most recent edition, is the ability to stitch multiple photos together into a panorama. Both of my Lumix cameras have the ability to create panoramas on the fly while panning with your camera, but that approach only creates JPEG files and you have much less control. With Lightroom you can merge multiple RAW images and then continue to edit the merged panorama as a RAW image.

Above is an example of elk grazing in front of Wilson Peak, taken from Last Dollar Road just outside Telluride as the sun was setting. The light was very challenging on this one – the elk in the foreground were in the shade and there was a bright light on the mountains and sky at the back. So I had to do a lot of raw processing to get the image looking reasonable, and wouldn’t have been able to do this if I’d just had a JPEG panorama from the camera. This one was created from two images and is 7301×2879 pixels, about 21 megapixels.

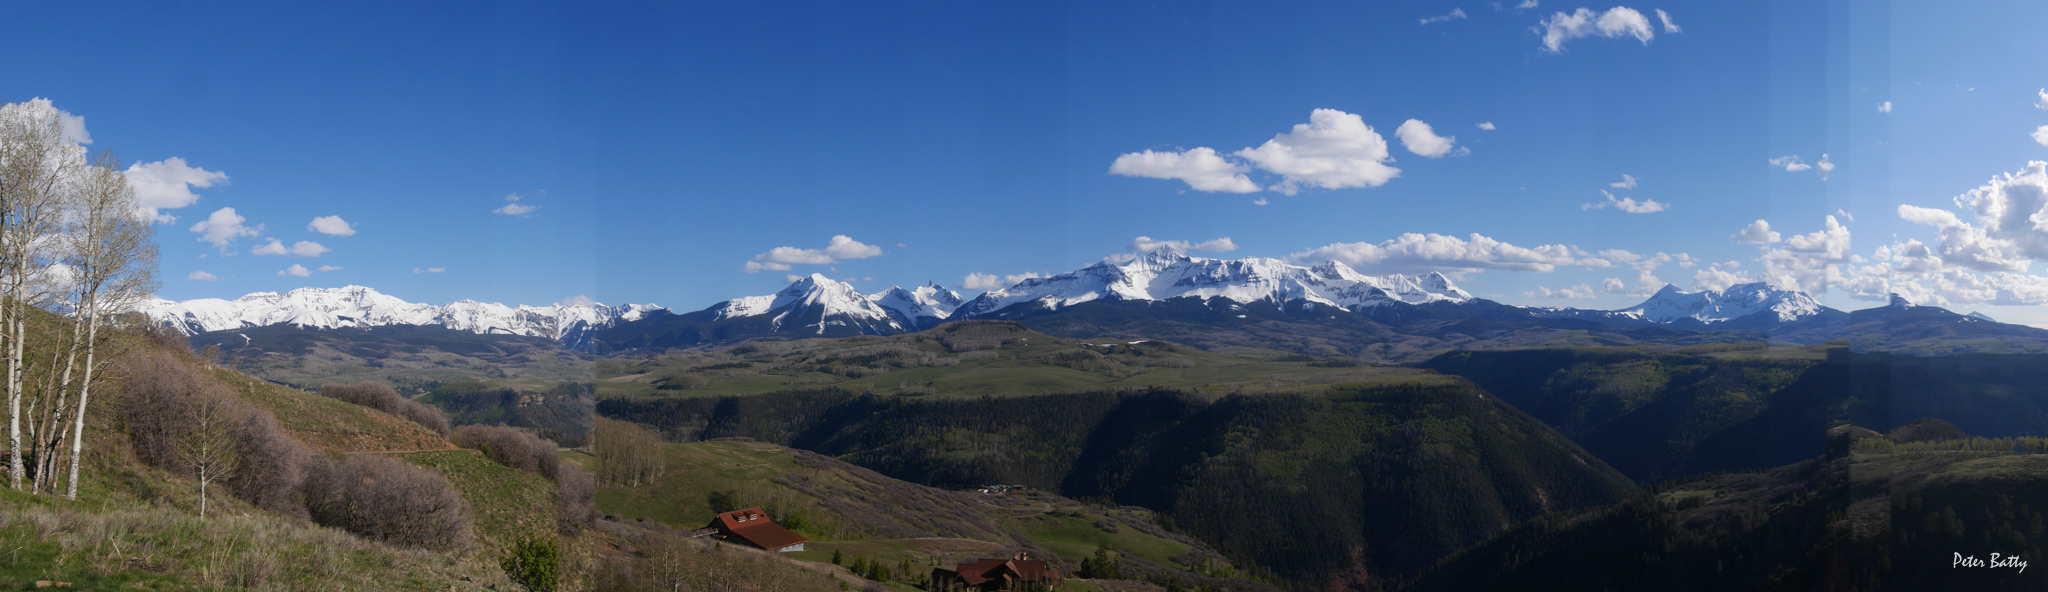
This one is taken in the same general area, a little further up Last Dollar Road, and shows a wider panorama of Wilson Peak and its neighbors, made from 5 overlapping RAW images. This one is 14270×2851 pixels, or 41 megapixels. Another important thing to remember when taking a panorama is that you want to make sure you have a consistent exposure across all the pictures. The easiest way to do this is to press and hold the exposure lock button while you take all the pictures. The exact details of how to do this will vary depending on your camera.
The picture above is actually one I tried taking using the camera’s built in panorama function at the same location as the previous image, and it was not very successful at all in this case. There are a couple of places where the stitching just didn’t work and there’s an obvious discontinuity in the image, and there are several more places where the exposure doesn’t match and you see bands in the image (in the sky in particular). Usually the in camera function works better than this, but in this case in particular the one created in Lightroom was hugely better.
The basic panorama functionality in Lightroom is very easy to use – just select the images you want to combine into a panorama, and choose Photo -> Photo Merge -> Panorama, and choose the default settings. Adobe has a nice 8 minute video tutorial if you want to understand more detail about the capabilities and various options. I even found out from this that you can do HDR panoramas, which is pretty cool! I have an HDR panorama version of the top image here, made from 3 different exposures on both the left and the right side, but the end results looked pretty similar in this case. However, this could be useful in some situations.

This final example, of the Black Canyon of the Gunnison in Colorado, is a little different from the others in that it’s not a wide panorama. In this case it’s a combination of 3 pictures taken with a portrait orientation, which let me better capture the full height of the canyon. Its full dimensions are 6297×4024 pixels, or about 25 megapixels, compared to 16 megapixels for a single image from my camera.
